The members of crew #40r2 were:
1/Lt Neil D. Comerford (A/C)
F/O Richard H. Furman (Pilot)
1/Lt Harry Hancock (Navigator)
1/Lt Charles R. Luke (Bombardier)
1/Lt Edwin C. Pomeroy (Engineer)
Sgt Neil V. Morgan (Engineer)
S/Sgt John P. De Fiore (Radio)
Sgt Sam S. Lombardo (Radarman)
T/Sgt Robert C. Junk (CFC)
S/Sgt Matthew Koch (R Gunner)
S/Sgt Marvin L. Saltzman (L Gunner)
Sgt John S. Hechman (T Gunner)
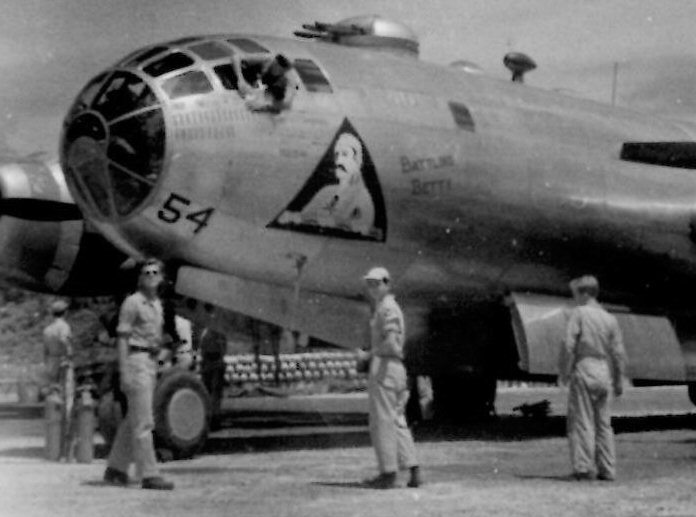
Photo provided by Mark Furman, all rights reserved.
F/O Richard H. Furman (Pilot) is under the "54", along with various other
members of the crew.
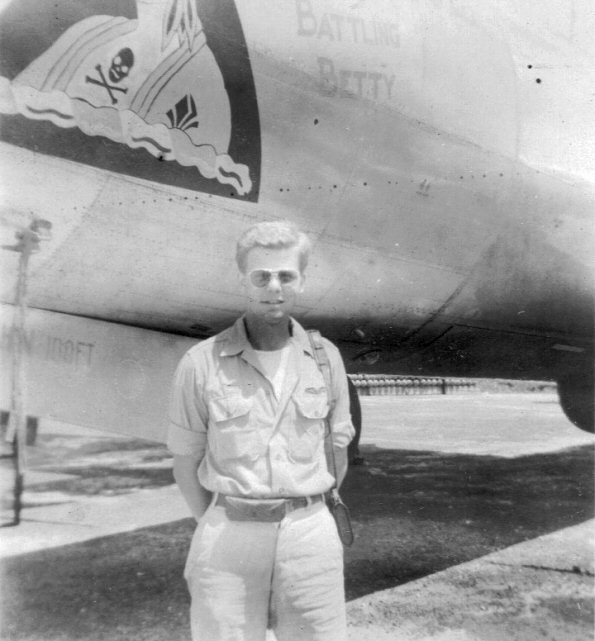
Photo courtesy of Elizabeth Koch-Colson,
all rights reserved.
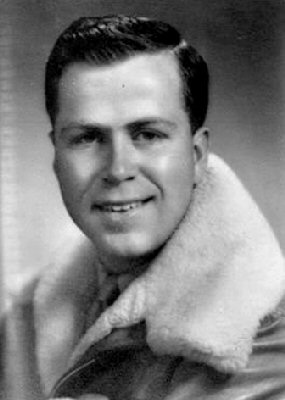
F/O Richard H. Furman (Pilot) in front of "Battling Betty".
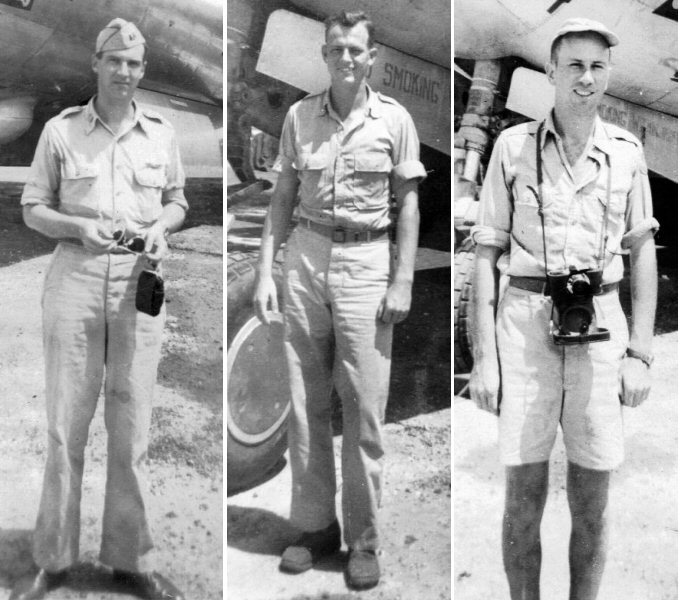
Photo courtesy of Elizabeth Koch-Colson, all rights reserved
Left to Right: 1/Lt Neil D. Comerford (A/C), 1/Lt Harry Hancock
(Navigator), 1/Lt Edwin C. Pomeroy (Engineer).
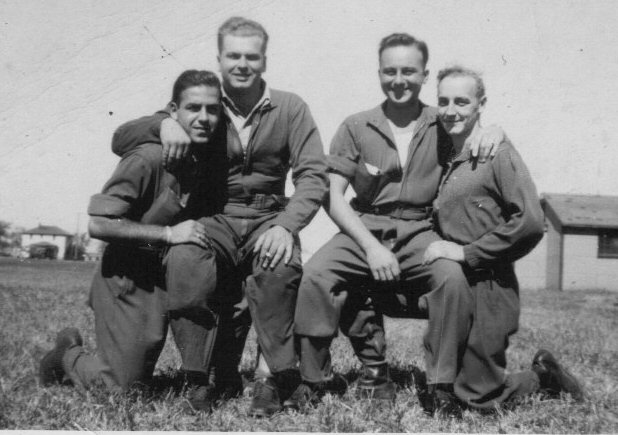
Photo courtesy of Elizabeth Koch-Colson, all rights reserved
Left to Right: Sgt Sam S. Lombardo (Radarman), S/Sgt Matthew Koch (R
Gunner), S/Sgt John P. De Fiore (Radio), S/Sgt Marvin L. Saltzman (L
Gunner).
T/Sgt Robert C. Junk (CFC) |